
Making Blocks
this Post is a continuation of the Split Rail Fence Series. If you would like to read Part 1 before continuing on you can read it here, Split Rail Fence Quilt: Part 1.
After making the squares from the group of strips, I took to squares and put them right sides together, making sure that one square had to strips lined up horizontally and the other square with its strips going vertically.

I sewed around all four edges with a 1/4 inch seem.

Then after sewing I placed the square on the 45 degree angle line on my cutting mat and cut from corner to corner.

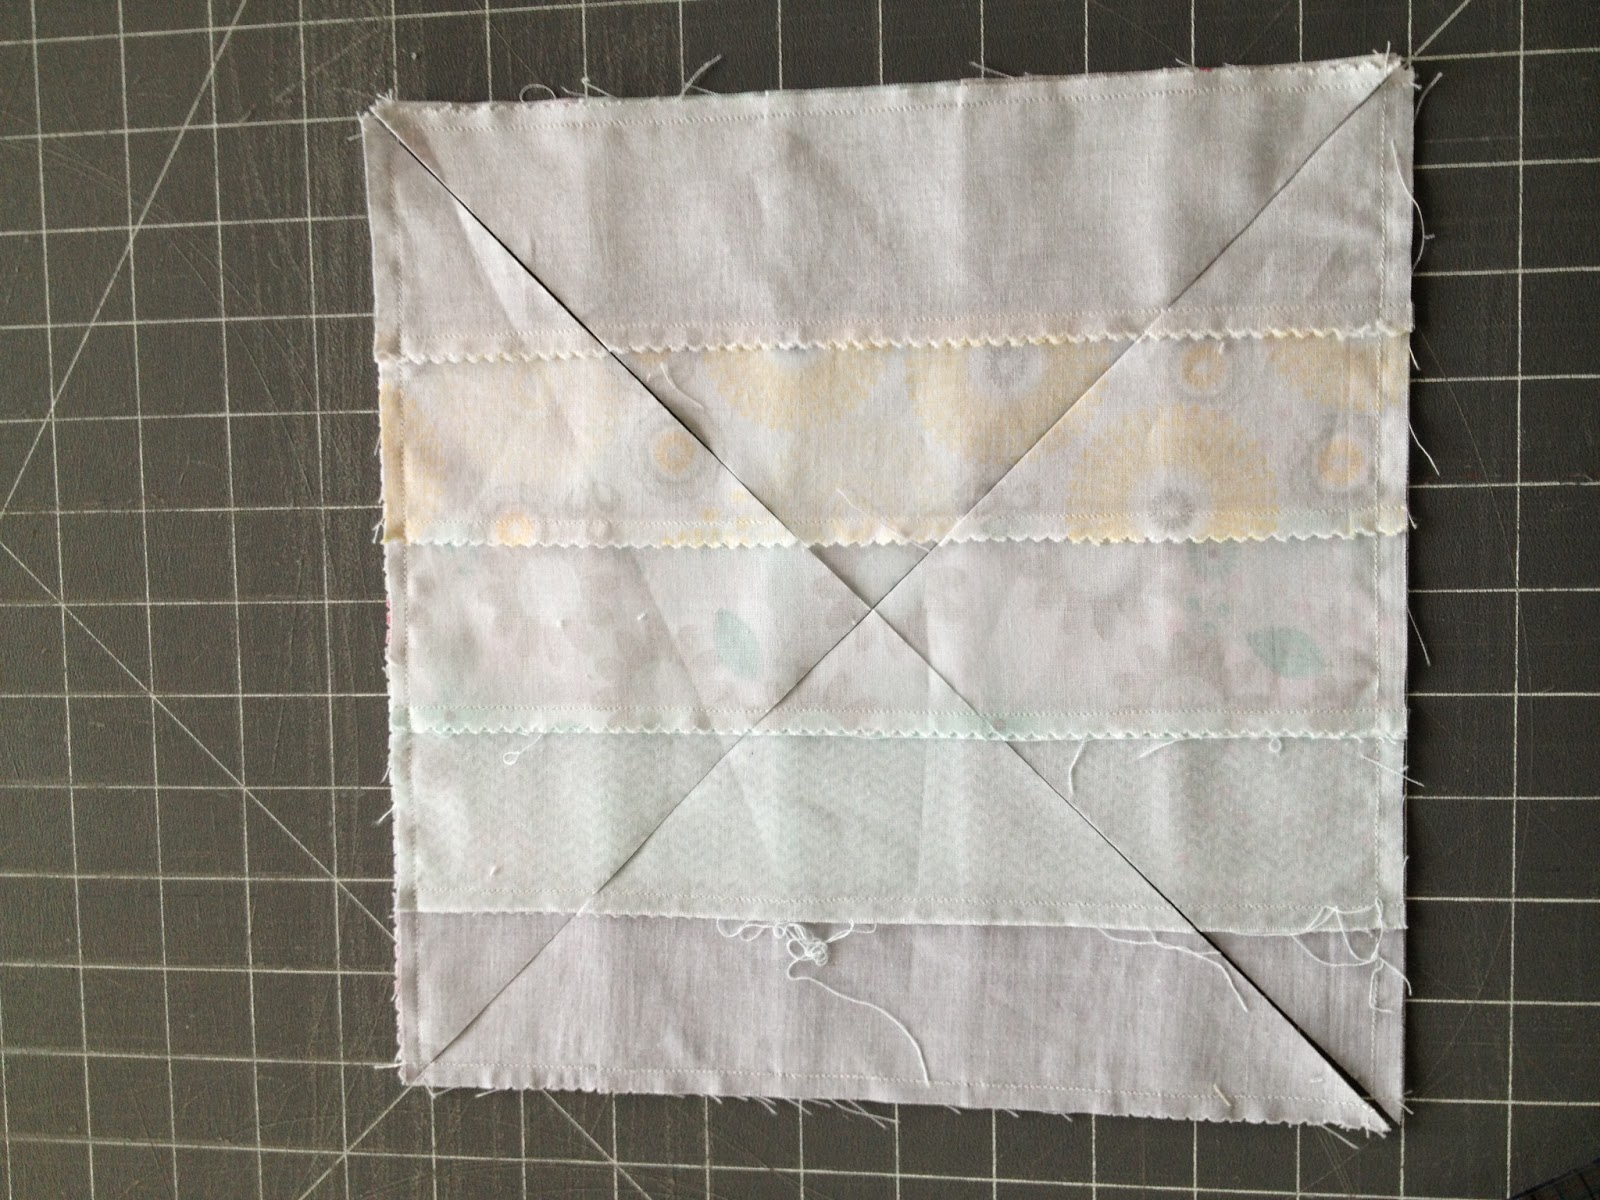
I then flipped open my new triangles and arranged them like below. I repeated this process with every set of squares. After pressing the triangles open sew the blocks together with a 1/4 inch seem to look like below.

Look at that lovely set of triangles just waiting to be pressed!!

so far this looks great! I had no idea what a split rail fence quilt looked like. Now I am excited to see it all together.
ReplyDelete